
Plan of action
The purpose of this post is to get you and your team started with Infrastructure as Code (IaC) scanning to ensure your provisioned cloud infrastructure is as secure as possible. For the purposes of demonstration, we’ll being using GitLab as our Continuous Integration & Continuous Delivery/Deployment (CI/CD) platform, this will be backed by Dockerised version of tfsec as our ‘runner’ (more on this later) and Terraform as our choice of IaC.
What is Infrastructure as Code (IaC)?
Before we continue, it’s important to understand what IaC is and why you should use it. Infrastructure as Code (IaC) is the practice of managing and provisioning your infrastructure via code rather than manually. Using IaC versus manually deploying your assets means you can automate tasks, ensure consistency and implement version control and standardised documentation. The most popular IaC tools include Terraform, CloudFormation from AWS and Ansible. As mentioned, for the purposes of this post we’ll be working with Terraform – scanning code that will deploy assets to AWS.
Prerequisites
GitLab installation
For brevity, I won’t cover installing and getting started with GitLab as it is well documented by GitLab themselves. It is up to you on the flavour of Linux you wish to install on, but if you are following along – I provisioned a Debian 12 virtual machine for this demo, installing the Community Edition of GitLab. Details on installing on supported Linux distributions can be found here.
Docker additional install
In this tutorial, we’ll be using Docker containers as our Runners within GitLab. In simple terms, a GitLab Runner is essentially a worker that executes tasks on behalf of the GitLab instance. These could be building, testing or deploying code. In our example, we’ll be using it to run a container with tfsec by Aqua Security installed to scan our Terraform code when pushed to a specific GitLab repository.
Again, I won’t cover installing Docker but you can follow the instructions for your Linux flavour on the Docker website here.
Gitlab Runner
Additionally, we’ll need the GitLab runner installation which can be found here.
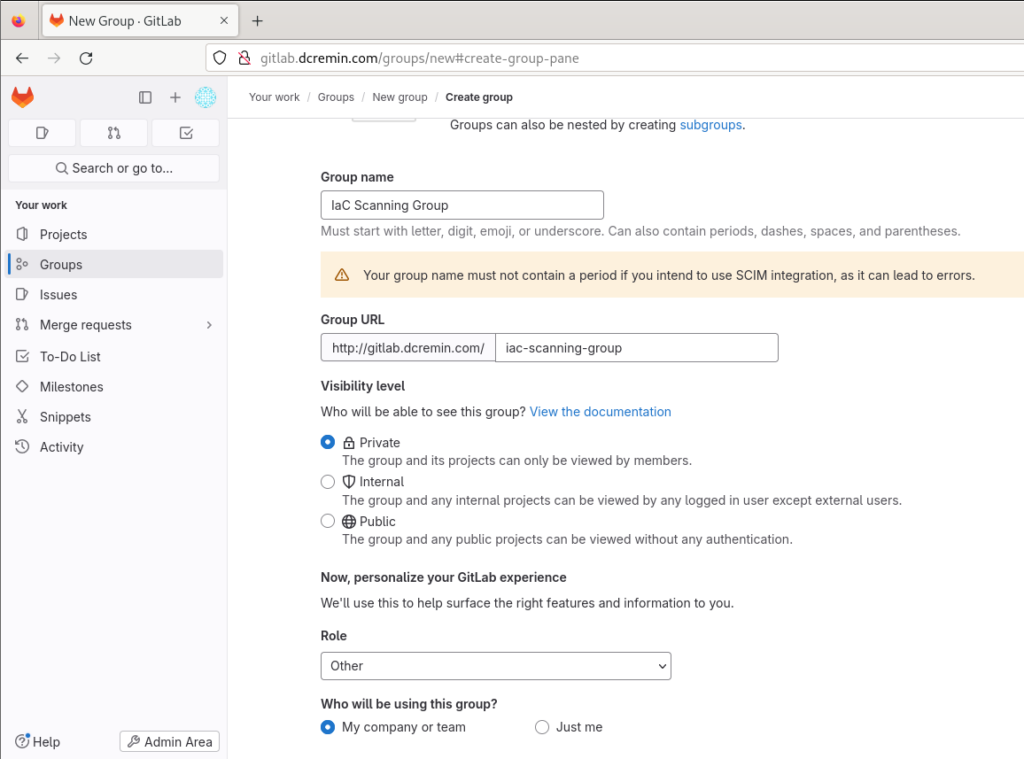
GitLab Group & Project
Once your GitLab and Docker installations are complete, we’ll create a GitLab Group which will allow us to apply fine-grained access control to our projects and scanning.
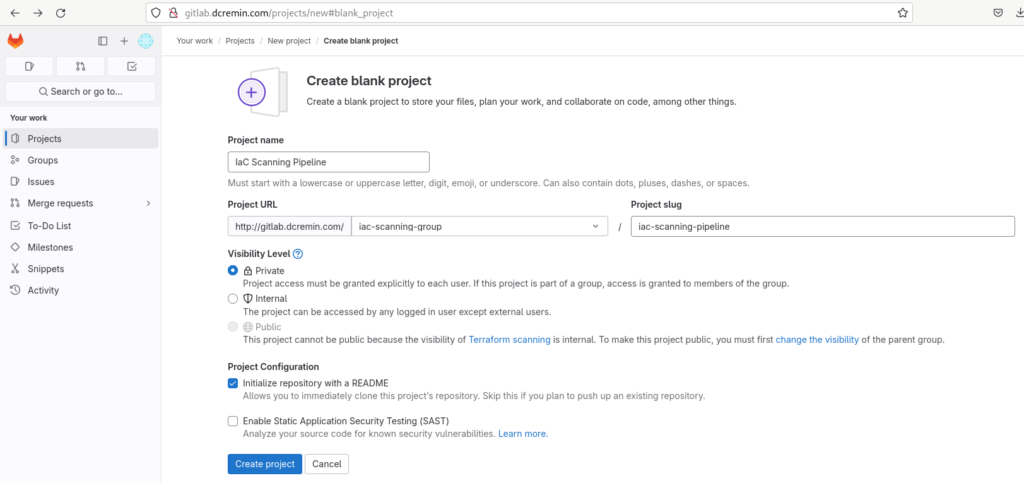
Next, we’ll setup a GitLab Project will be where our IaC files, GitLab CI/CD configuration and documentation will live. From here, you can assign the group you just created.
Docker Runner & Registry Setup
Next we’ll configure our Docker Runner that will run our tfsec container against the Terraform code we want to ensure is secure before deployment. To do this, we’ll be writing a Dockerfile, building a Docker image and publishing it to our own Docker registry.
The following can be added to a file called Dockerfile:
FROM alpine:latest

RUN apk add --no-cache ca-certificates git bash

RUN wget -O /usr/local/bin/tfsec https://github.com/tfsec/tfsec/releases/download/v0.52.1/tfsec-linux-amd64 && chmod +x /usr/local/bin/tfsec

RUN adduser -D tfsec_user

USER tfsec_user
This will pull the latest version of the Alpine Docker image, install Git, Bash and tfsec add a user called tfsec_user and assume the role of that user.
Once that’s done, build your image and tag it with the latest tag like so:
docker build -t tfsec:latest .Next we’ll spin up our own Docker registry, which can be done by pulling the Docker ‘Registry’ image and mapping it to a port. This can be any port, but for simplicity let’s follow Docker documentation and bind them to port 5000 both internally and externally on the container:
docker run -d -p 5000:5000 --name registry registry:2.7Next, we need to create an alias for the image in the Docker registry with the tag command:
docker tag tfsec:latest <YOUR_REGISTRY_IP>:5000/tfsec:latestFinally, we can push our image to our local Docker registry:
docker push <YOUR_REGISTRY_IP>:5000/tfsec:latestYou can check that your image was successfully pushed and is available in your registry by cURLing the catalog:
curl -X GET http://<YOUR_REGISTRY_IP>:5000/v2/_catalog
Docker Runner registration
For this, we’ll take to the command line and follow the steps as outlined here in the GitLab Runner documentation. Run the following command, adjusted for your GitLab instance:
sudo gitlab-runner register \
  --url "<YOUR_GITLAB_INSTANCE_URL>" \
  --registration-token "<YOUR_REGISTRATION_TOKEN" \
  --executor "docker" \
  --docker-image "<YOUR_REGISTRY_IP>:5000/tfsec:latest" \
  --description "tfsec Docker image" \
  --tag-list "docker"
  --run-untagged
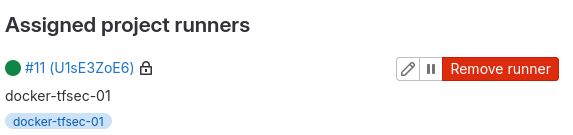
Once the runner has been successfully registered, you should see it available (following a successful connection to GitLab), you should see the radio button turn green:
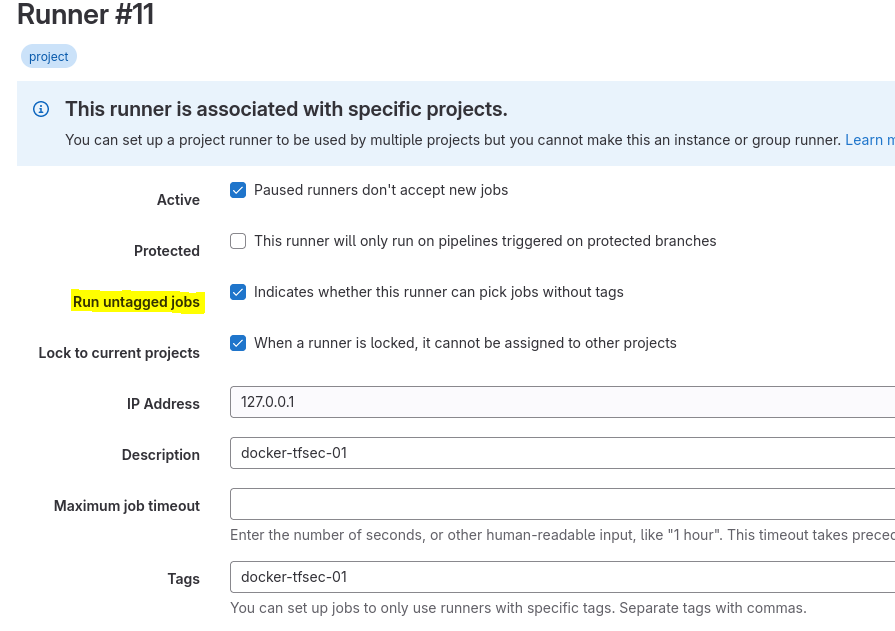
We’ll also allowed the Runner to run jobs that are untagged during our setup:
That’s everything we need on the setup front, to recap – what have we done here? Well, we’ve registered a GitLab Runner using the tfsec image (i.e. creating a container with that image). Next we’ll move our to the repository itself and setup our CI/CD configuration file and push our first Terraform code file for scanning.
CI/CD configuration & repository setup
From the previous project setup, we should now have a repository we can work with as well as a sample README.md file in there. Next, we’ll set up our .gitlab-ci.yml file at the top level of our repository with the following details initially to confirm everything is working as expected:
# This is our gitlab-ci.yml file configuration

stages:
  - tfsec_scan

tfsec_scan:
  stage: tfsec_scan
  image:
      name: <YOUR_REGISTRY_IP>:5000/tfsec:latest
      entrypoint: [""]
  script:
    - tfsec --version
    - tfsec --version --out verison_output.txt

  artifacts:
    when: always
    paths:
      - verison_output.txt
What’s happening in this file? We’re defining a stage or step in our pipeline and setting it up under the name tfsec_scan. We’ll We’ll pass two arguments to our script instructions, one will output the tfsec version to the UI and the other will output it to a verison_output.txt which will verify we are producing artifacts correctly. Commit this file to the repository and jump over to your pipeline to ensure that it runs correctly, if so you should see the tfsec version and an artifact with the same version number:

Excellent, things are working as expected with our Runner, .gitlab-ci.yml file and tfsec Docker image. Next we’ll commit our first Terraform file with some intentionally vulnerable/misconfigured assets so we can see tfsec in action.
Scanning your first IaC file
Finally, it’s time to scan our first Terraform file and see if we can find any code that is going to introduce security misconfigurations into our AWS infrastructure. For this, we’ll commit a very simple Terraform file to our GitLab repository called s3.tf:
resource "aws_s3_bucket" "data" {
  bucket        = "${local.resource_prefix.value}-data"
  force_destroy = true
}
This bucket will intentionally trigger tfsec results as it is not encrypted, is public, does not have access logging enabled and does not employ bucket versioning. Before adding the file to our repository, we’ll need to update our .gitlab-ci.yml to actually scan the file instead of outputting its version number.
Our new .gitlab-ci.yml should be updated the code block below. This will instead instruct tfsec to scan all Terraform files on the filesystem (i.e. our repository in this case):
stages:
  - tfsec_scan

tfsec_scan:
  stage: tfsec_scan
  image:
      name: <YOUR_REGISTRY_IP>:5000/tfsec:latest
      entrypoint: [""]
  script:
    - tfsec --out tfsec_report.txt

  artifacts:
    when: always
    paths:
      - tfsec_report.txt
Finally, we can push/commit our s3.tf file to our repisotry and it should automatically kick off a pipeline job and scan the file using tfsec.
Reviewing the tfsec output
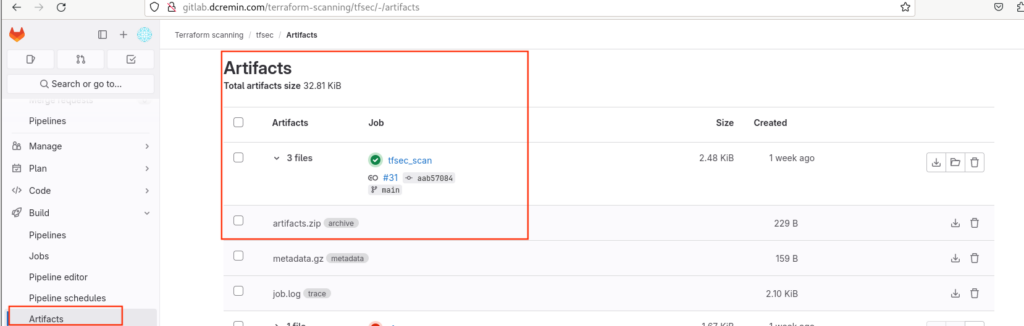
Checking our pipeline output, we can see that it ran (and failed!) but uploaded an archive/artifact as tfsec_report.txt. This failure is intentional/expected, tfsec has given a non-zero exit code to indicate that there are issues with the Terraform code that need to be addressed before moving forward.

Downloading our artifact, we can see that the tfsec scan picked up the 4 problems we mentioned previously, the bucket does not have encryption, access logging or versioning enabled and is publicly accessible:
4 potential problems detected:

Check 1

  [aws-s3-enable-bucket-encryption][HIGH] Resource 'aws_s3_bucket.data' defines an unencrypted S3 bucket (missing server_side_encryption_configuration block).
  /builds/iac-scanning-group/iac-scanning-pipeline/s3.tf:1-5

       1 | resource "aws_s3_bucket" "data" {
       2 |   bucket        = "${local.resource_prefix.value}-data"
       3 |   force_destroy = true
       4 | }
       5 |

  https://tfsec.dev/docs/aws/s3/enable-bucket-encryption#aws/s3

Check 2

  [aws-s3-enable-bucket-logging][MEDIUM] Resource 'aws_s3_bucket.data' does not have logging enabled.
  /builds/iac-scanning-group/iac-scanning-pipeline/s3.tf:1-5

       1 | resource "aws_s3_bucket" "data" {
       2 |   bucket        = "${local.resource_prefix.value}-data"
       3 |   force_destroy = true
       4 | }
       5 |

  https://tfsec.dev/docs/aws/s3/enable-bucket-logging#aws/s3

Check 3

  [aws-s3-enable-versioning][MEDIUM] Resource 'aws_s3_bucket.data' does not have versioning enabled
  /builds/iac-scanning-group/iac-scanning-pipeline/s3.tf:1-5

       1 | resource "aws_s3_bucket" "data" {
       2 |   bucket        = "${local.resource_prefix.value}-data"
       3 |   force_destroy = true
       4 | }
       5 |

  https://tfsec.dev/docs/aws/s3/enable-versioning#aws/s3

Check 4

  [aws-s3-specify-public-access-block][MEDIUM] Resource aws_s3_bucket.data has no associated aws_s3_bucket_public_access_block.
  /builds/iac-scanning-group/iac-scanning-pipeline/s3.tf:1-5

       1 | resource "aws_s3_bucket" "data" {
       2 |   bucket        = "${local.resource_prefix.value}-data"
       3 |   force_destroy = true
       4 | }
       5 |

  https://tfsec.dev/docs/aws/s3/specify-public-access-block#aws/s3
Conclusion
Awesome! We have successfully introduced Terraform code scanning into a GitLab pipeline. This was done by setting up a Community Edition instance of GitLab, building a tfsec Docker container, pushing it to our local Docker registry and subsequently using that image to scan Terraform code that is added to our repositories in GitLab.
We’ve achieved our aim of identifying security misconfigurations in our Terraform code before they become live in our AWS cloud infrastructure – WIN! We could extend this project further by including it as a step in a larger pipeline and gate production deployments where misconfigurations are found. Additionally, you could have your pipeline open a ticket or send a Slack message with the scan results for review by an engineer.
Fin.
Thanks for taking the time to read this post, I hope you learnt something new. If you have any feedback/corrections, please feel free to reach out to me via email below or on LinkedIn. I’d love to hear from you!
Stay safe out there!
-Dan